
Can I Wash My Face After PMU? A Simple Guide to Brow-Safe CleansingPMU 후 세수해도 될까요? 눈썹 안전 클렌징 가이드
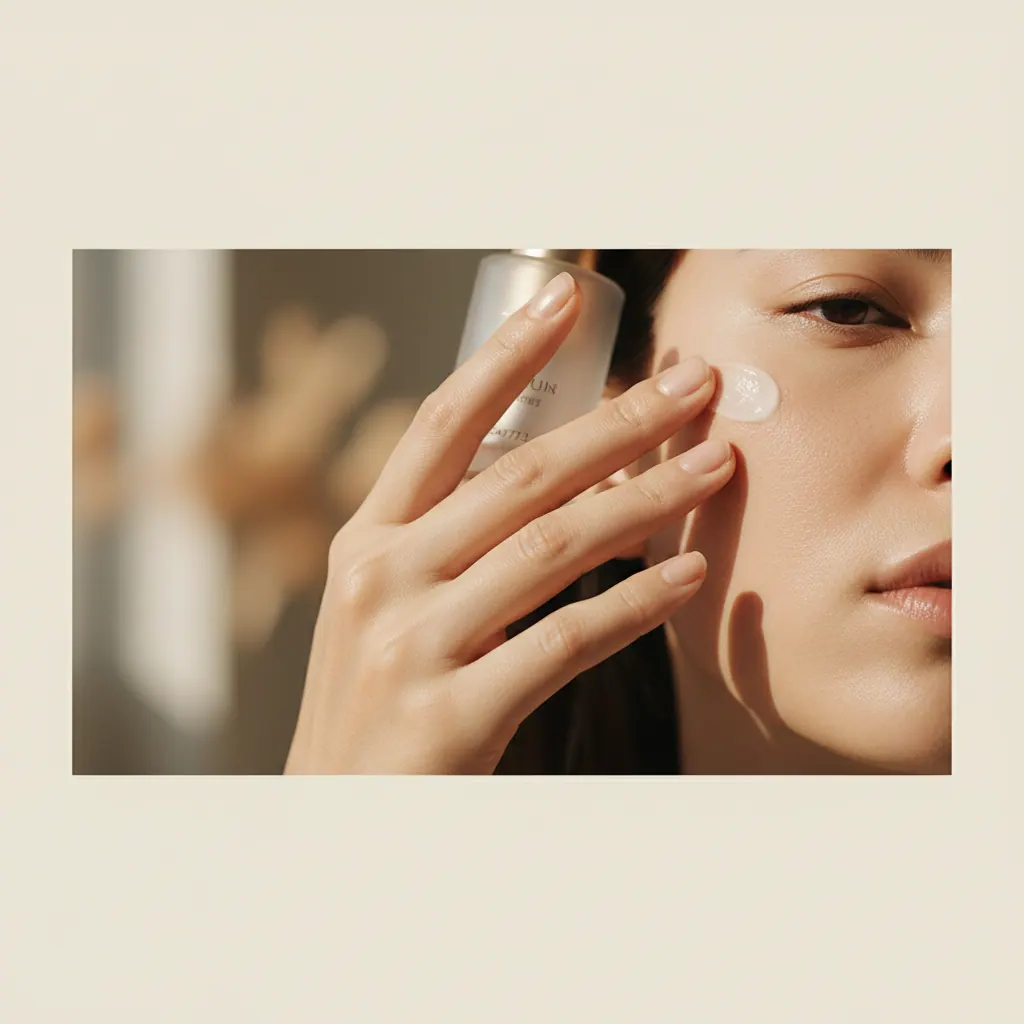
One of the most common questions we hear from our clients at Aura Beauty in Duluth is a simple yet crucial one: 'Can I wash my face after my PMU appointment?' The short answer is yes, but with great care. Your new brows are a delicate investment in your beauty, and the first week of healing is the most important period for ensuring they heal perfectly, retaining crisp pigment and a flawless shape. Cleansing your entire face without disturbing the brow area requires a gentle, strategic approach. This guide will walk you through exactly how to keep your skin clean and fresh while giving your new semi-permanent makeup the protection it needs to settle beautifully.
1. The First 24 Hours: The Critical No-Touch Period
Immediately after your procedure, your brows are essentially an open canvas with microscopic channels in the skin. The number one rule for the first full day is to avoid getting them wet at all costs. This means no washing, no splashing, no steam, and no sweat. Water can introduce bacteria and prematurely draw out the pigment before it has a chance to stabilize in the skin.
What to Do Instead
For your first evening and morning, focus on cleansing only the areas well away from your brows. Use a gentle, non-foaming cleanser on a soft cotton pad or cloth. Carefully wipe your forehead (above the brows), cheeks, nose, chin, and jawline. Think of creating a 'safe zone' around your brows, leaving a generous buffer of untouched skin.
IMPORTANT: Your skin's natural oils and any lymph fluid that forms are part of the healing process. Gently blotting them away with a clean, damp cotton pad (avoiding the brows themselves) is perfectly fine and recommended to keep the area tidy.
2. Days 2-7: The Gentle Cleansing Protocol
After the first 24 hours, you can begin a more comprehensive cleansing routine, but the keyword is 'gentle.' The goal is to cleanse the skin while avoiding any direct pressure, rubbing, or soaking of the brow area.
The Step-by-Step Method
- Prepare Your Tools: Have a mild, fragrance-free cleanser, lukewarm water, and soft cotton pads or a very soft microfiber cloth ready.
- Lather in Hands: Apply your cleanser to your hands and create a lather.
- Apply to Safe Zones: Gently massage the cleanser onto your forehead, cheeks, nose, chin, and neck. Deliberately avoid the brow area and the immediate surrounding skin.
- Rinse with Cupped Hands: Instead of splashing water directly on your face, cup your hands under lukewarm water and gently pour it over the cleansed areas, letting it run down and away from your brows.
- Pat Dry: Use a clean, soft paper towel to gently pat your face dry. Never rub. Carefully pat around the brow area, absorbing any moisture that may have drifted near.
3. What to Absolutely Avoid During Healing
Knowing what not to do is just as important as knowing the right steps. For the full 7-10 day initial healing period, avoid the following near your brows:
- Direct Water Streams: No shower jets, sink faucets, or swimming.
- Steam & Heat: Skip saunas, steam rooms, hot yoga, and very hot showers.
- Cleansing Tools: Put down any facial brushes, scrubbing tools, or abrasive cloths.
- Harsh Products: Avoid any cleansers with exfoliating beads (AHAs/BHAs), retinoids, or strong fragrances on the entire face, as runoff can irritate the healing skin.
- Makeup & Sunscreen: Do not apply any foundation, concealer, or sunscreen directly on the brows. Learn more about the complete healing journey and aftercare on our website.
4. Troubleshooting Common Cleansing Concerns
It's normal to have questions as you navigate this process. Here are solutions to frequent worries.
'My brows feel tight and itchy.'
This is a classic sign of healing. Resist the urge to scratch or pick. You can gently tap around the area (not on it) with a clean finger. Keeping the skin around them hydrated (without applying product directly on the brows) can help alleviate the sensation.
'I accidentally got them a little wet. What now?'
Don't panic. Immediately and gently blot the area dry with a clean paper towel. Do not rub. One minor slip is usually not catastrophic, but be extra vigilant going forward. Consistent soaking is what causes problems.
'How do I remove my eye makeup safely?'
Use a waterproof, oil-free makeup remover on a cotton pad. Hold the pad on your closed eyelid to dissolve makeup, then wipe downward and away from the brow. Be meticulous to prevent any remover from migrating upward.
5. Beyond the First Week: Transitioning to Normal Care
After the initial flaking phase is complete (usually around days 7-10), your brows will enter a subtler healing phase. You can gradually return to your normal facial cleansing routine, but continue to treat the brow area with care for the next few weeks.
- Reintroduce Products Slowly: Start using your regular cleanser, but avoid direct, aggressive scrubbing on the brows.
- Sun Protection is Non-Negotiable: Once the skin is fully healed, applying a high-SPF sunscreen daily is the single best thing you can do to preserve your PMU color. UV exposure is the primary cause of premature fading.
- Schedule Your Perfecting Session: Remember, PMU is a two-step process. Your follow-up touch-up appointment at Aura Beauty, typically 6-8 weeks later, is when we perfect the shape, adjust color, and fill in any areas where pigment may not have retained as well. This ensures your results are long-lasting and flawless.
By following these brow-safe cleansing steps, you are actively participating in the success of your PMU results. At Aura Beauty, serving Duluth, Suwanee, Buford, Lawrenceville, Atlanta, and Johns Creek, we are committed to providing not just exceptional Pharmesthetic Superjection and PMU services, but also the detailed aftercare knowledge you need for beautiful, confident results. If you have any questions during your healing process, never hesitate to reach out to us. Ready to begin your journey? You can book your consultation or appointment easily online via our booking page.